Uploading files to AWS S3 Directly (NodeJS & React)
Scalable file uploads by lessening server load

What We Need
- AWS S3 Bucket
- Of course we need an AWS Account (free tier is okay). This is where we actually save our file uploads
- Express App
- Generates a temporary signature (URL) we can use on the frontend to upload a file directly to S3
- React App
- This is where we select our files to upload
Setup
AWS S3 Bucket
Create AWS User
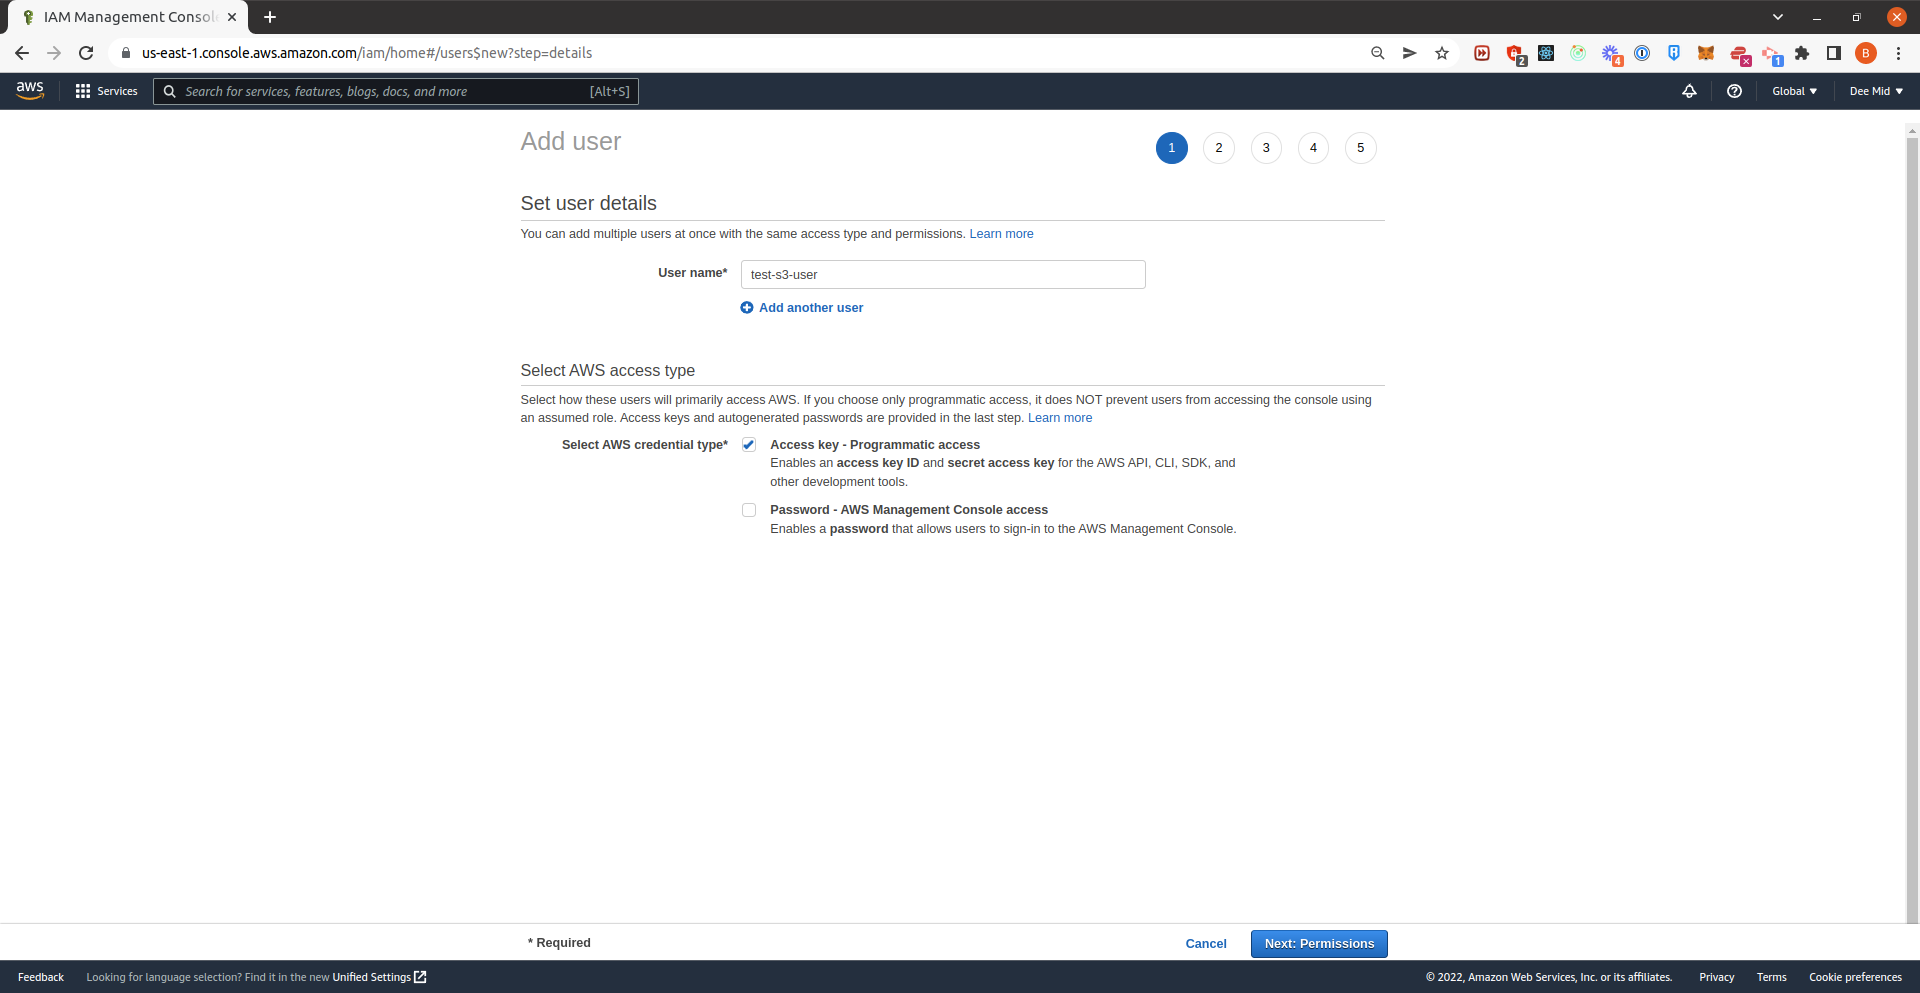
- Go to AWS - IAM (just search for IAM on the AWS Console searchbar). Click the Add Users Button on the top right.

- Enter a username and check Access Key - Programmatic Access because we are going to use the AWS SDK. Hit Next: Permissions.
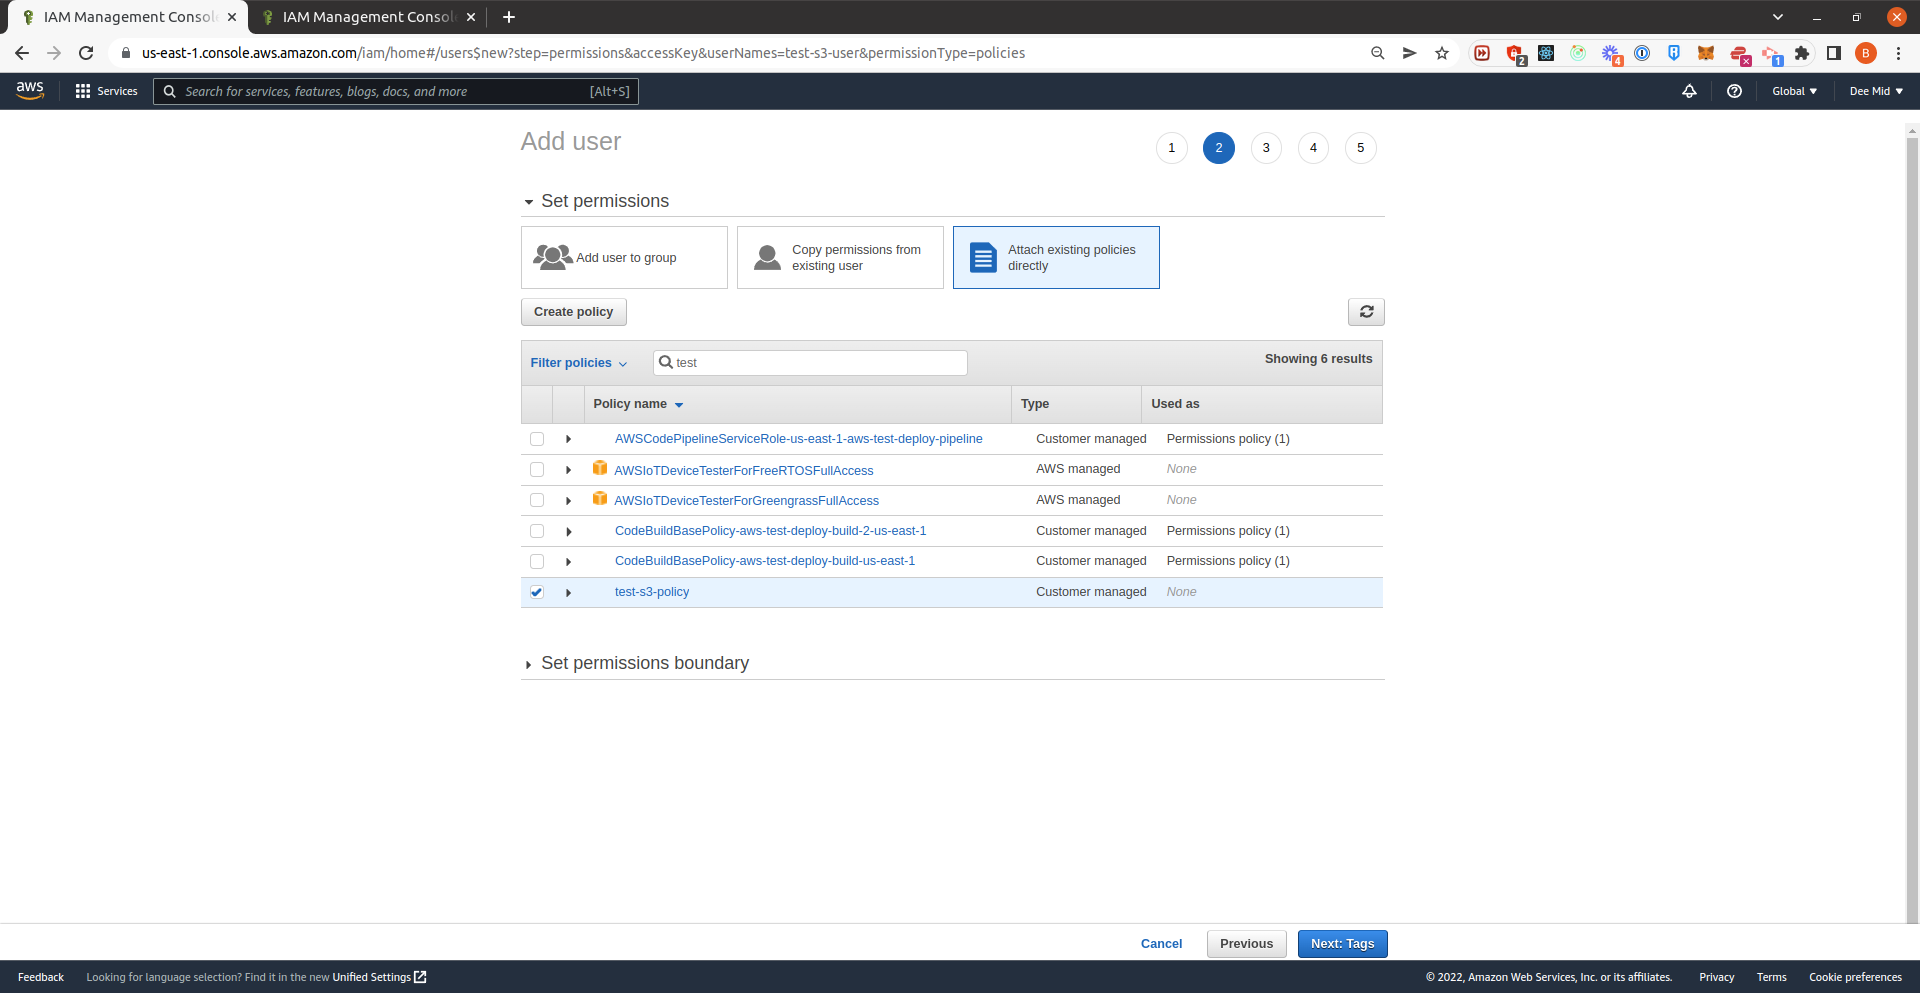
- Select Attach existing policies directly. Since we don't have a policy yet, let's create one. Click Create policy. This will open a new tab.
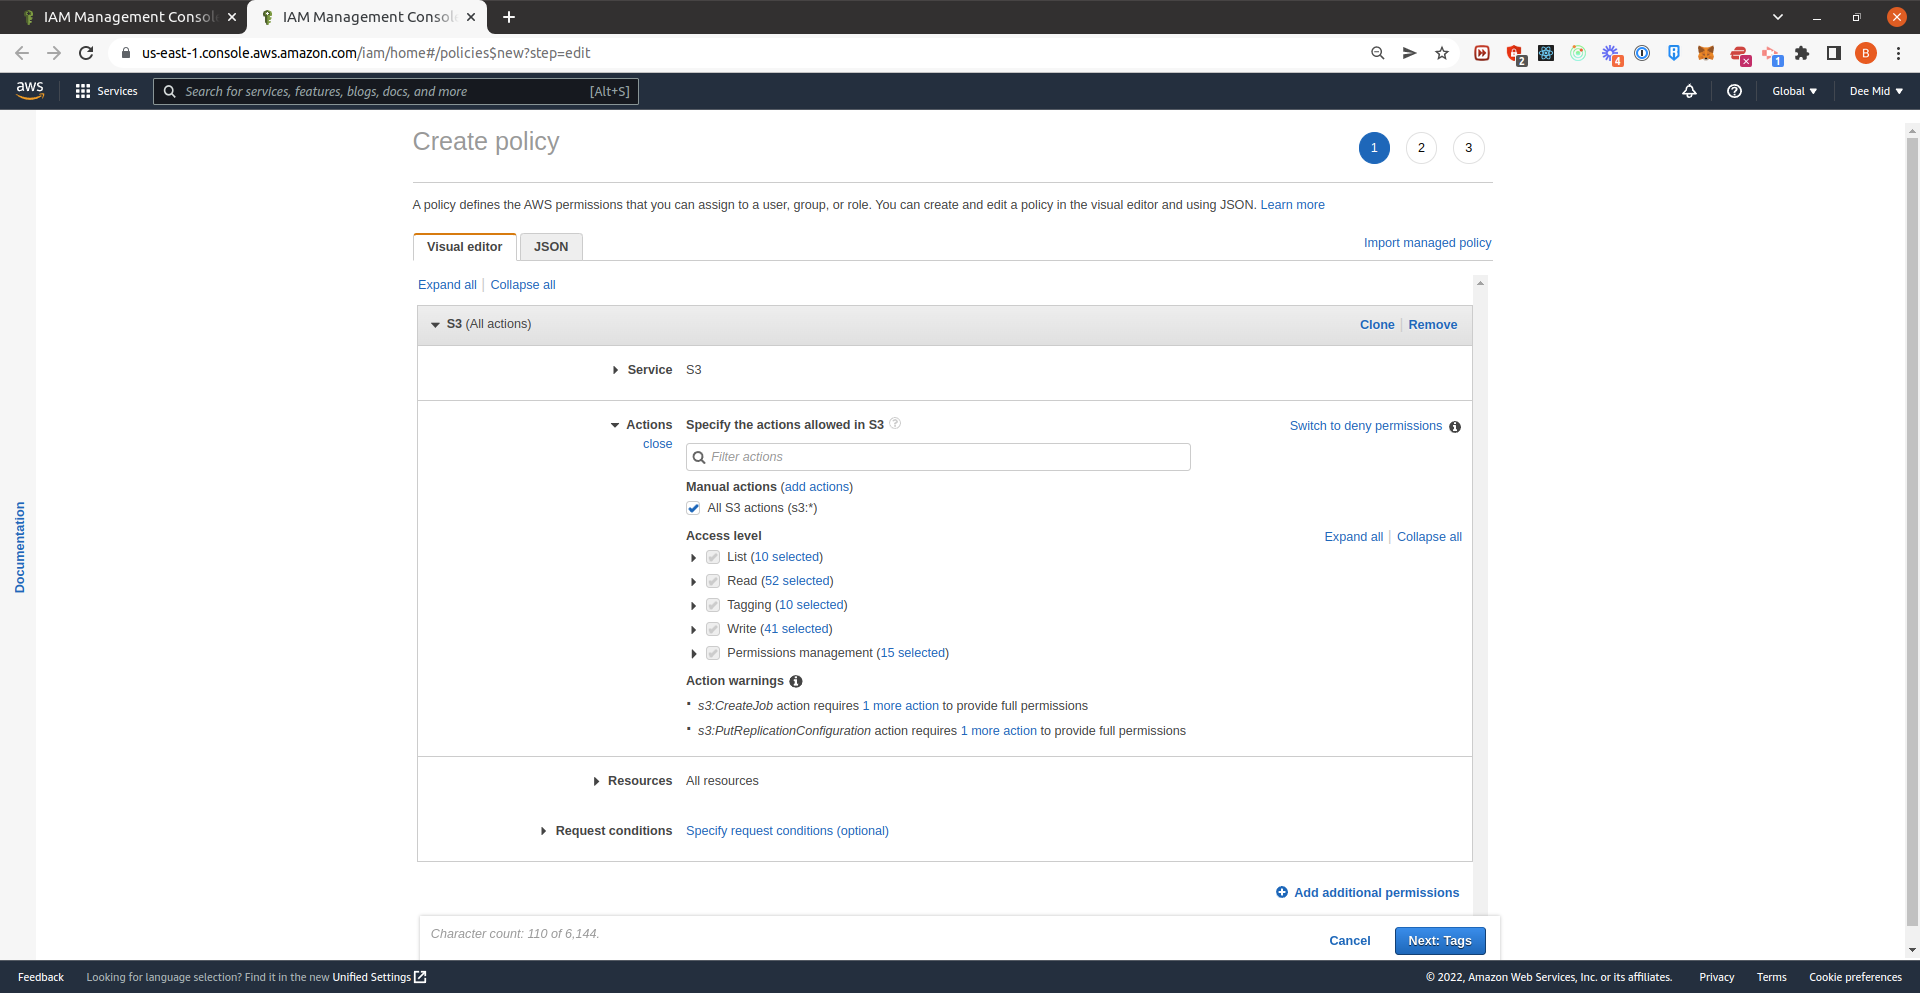
- For the Service, select S3. Next, on Actions, check All S3 actions (s3:*) to give full S3 permission on the user that we will attach this policy to. For the Resources, select All Resources. Click Next: Tags on the bottom right.

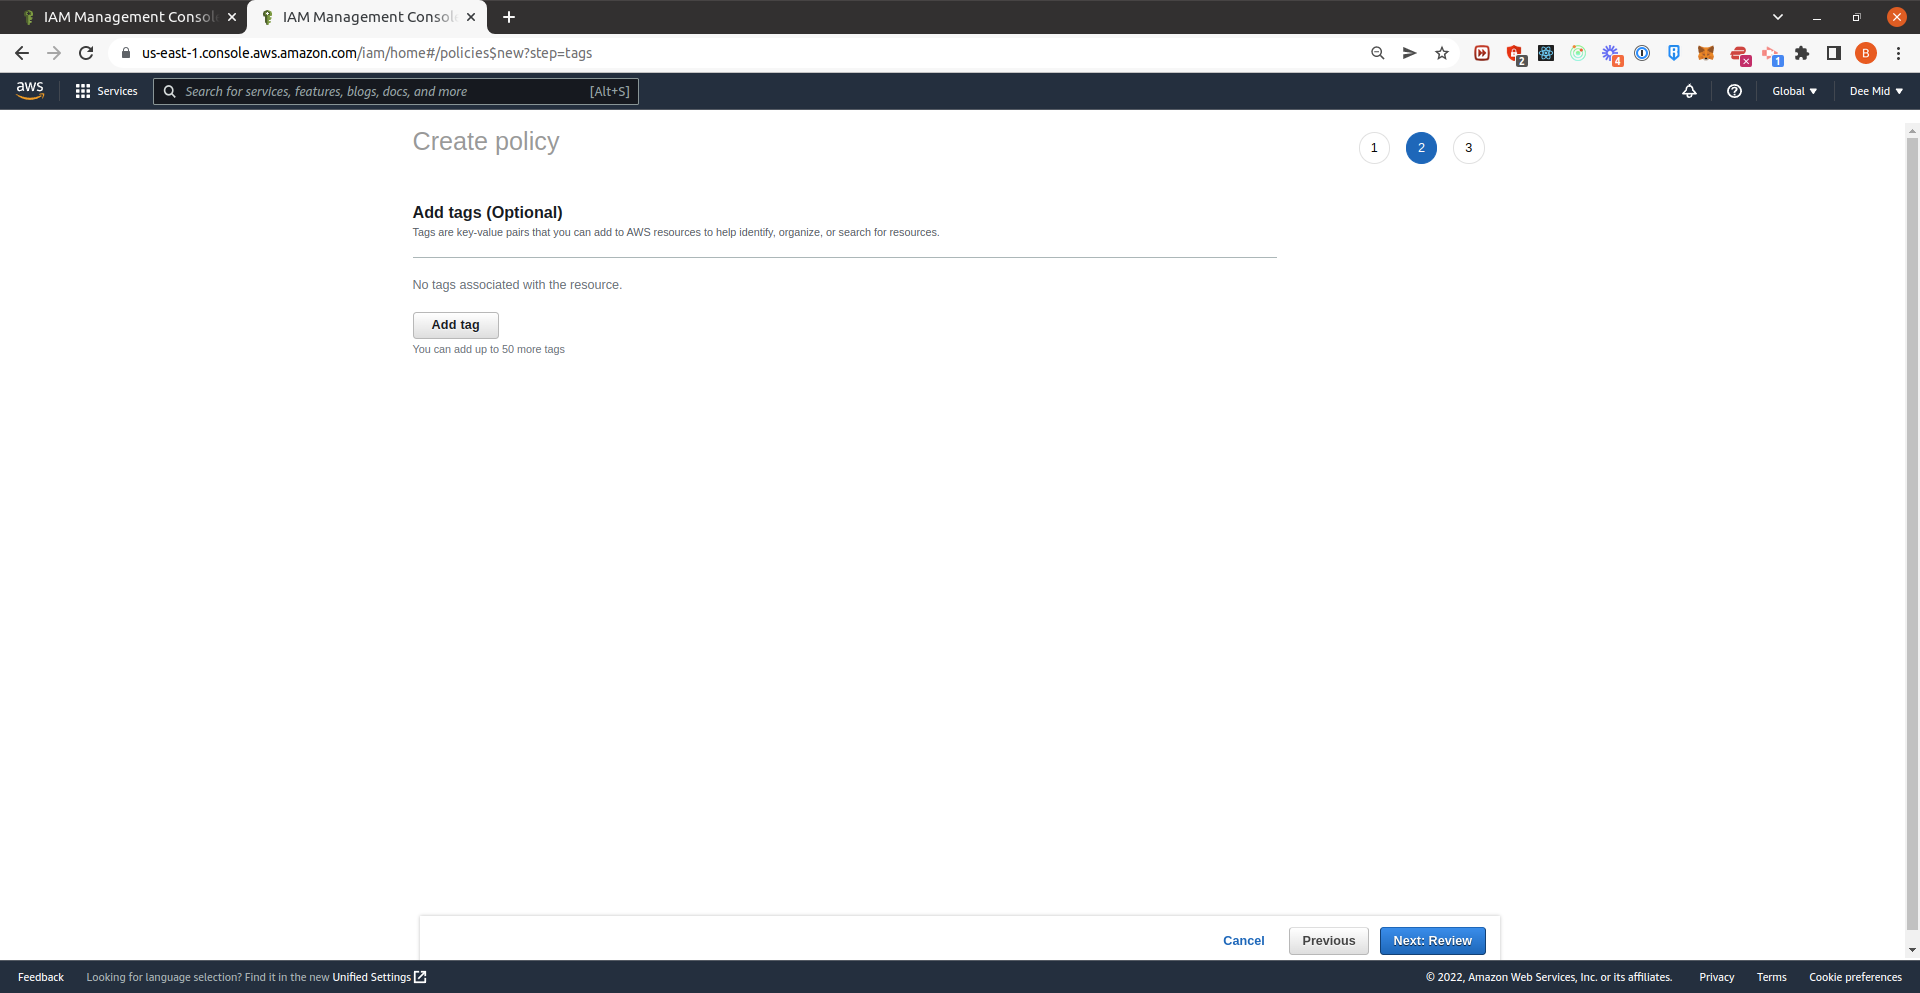
- Click Next: Review on the bottom right.
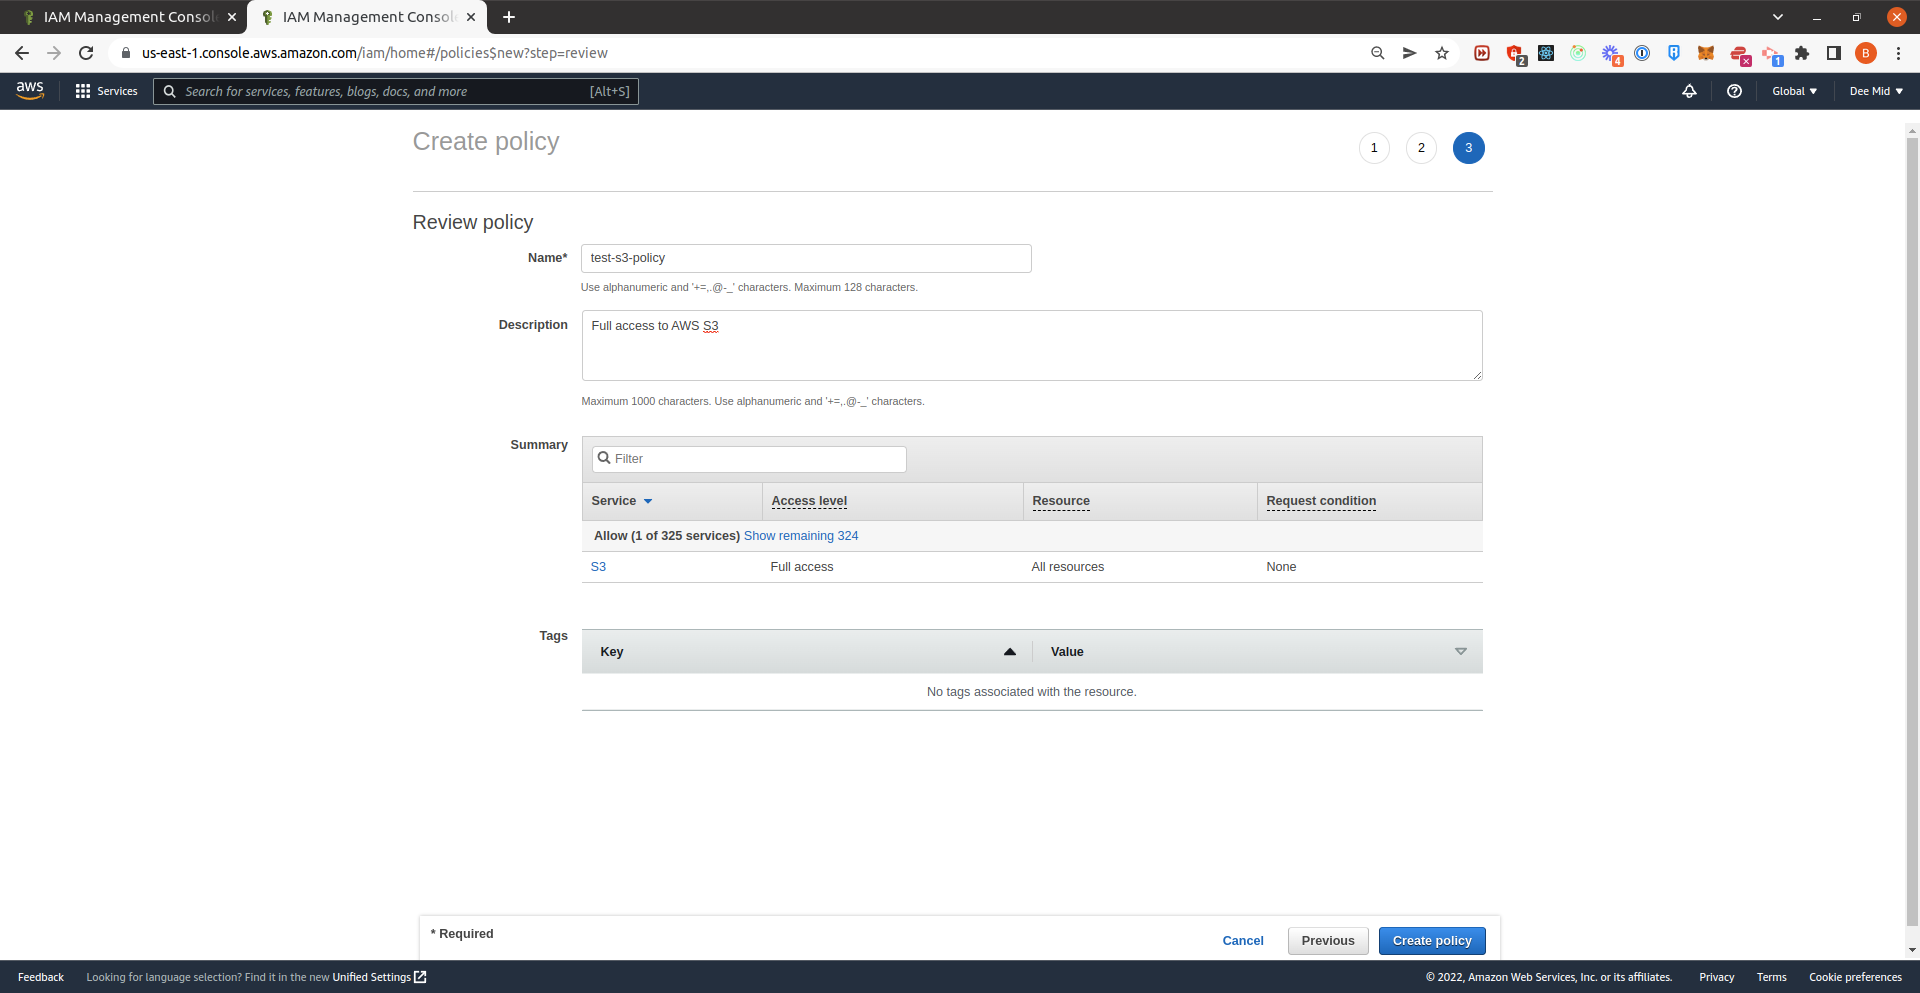
- Enter Name and an optional Description. Then, click Create Policy on the bottom right.
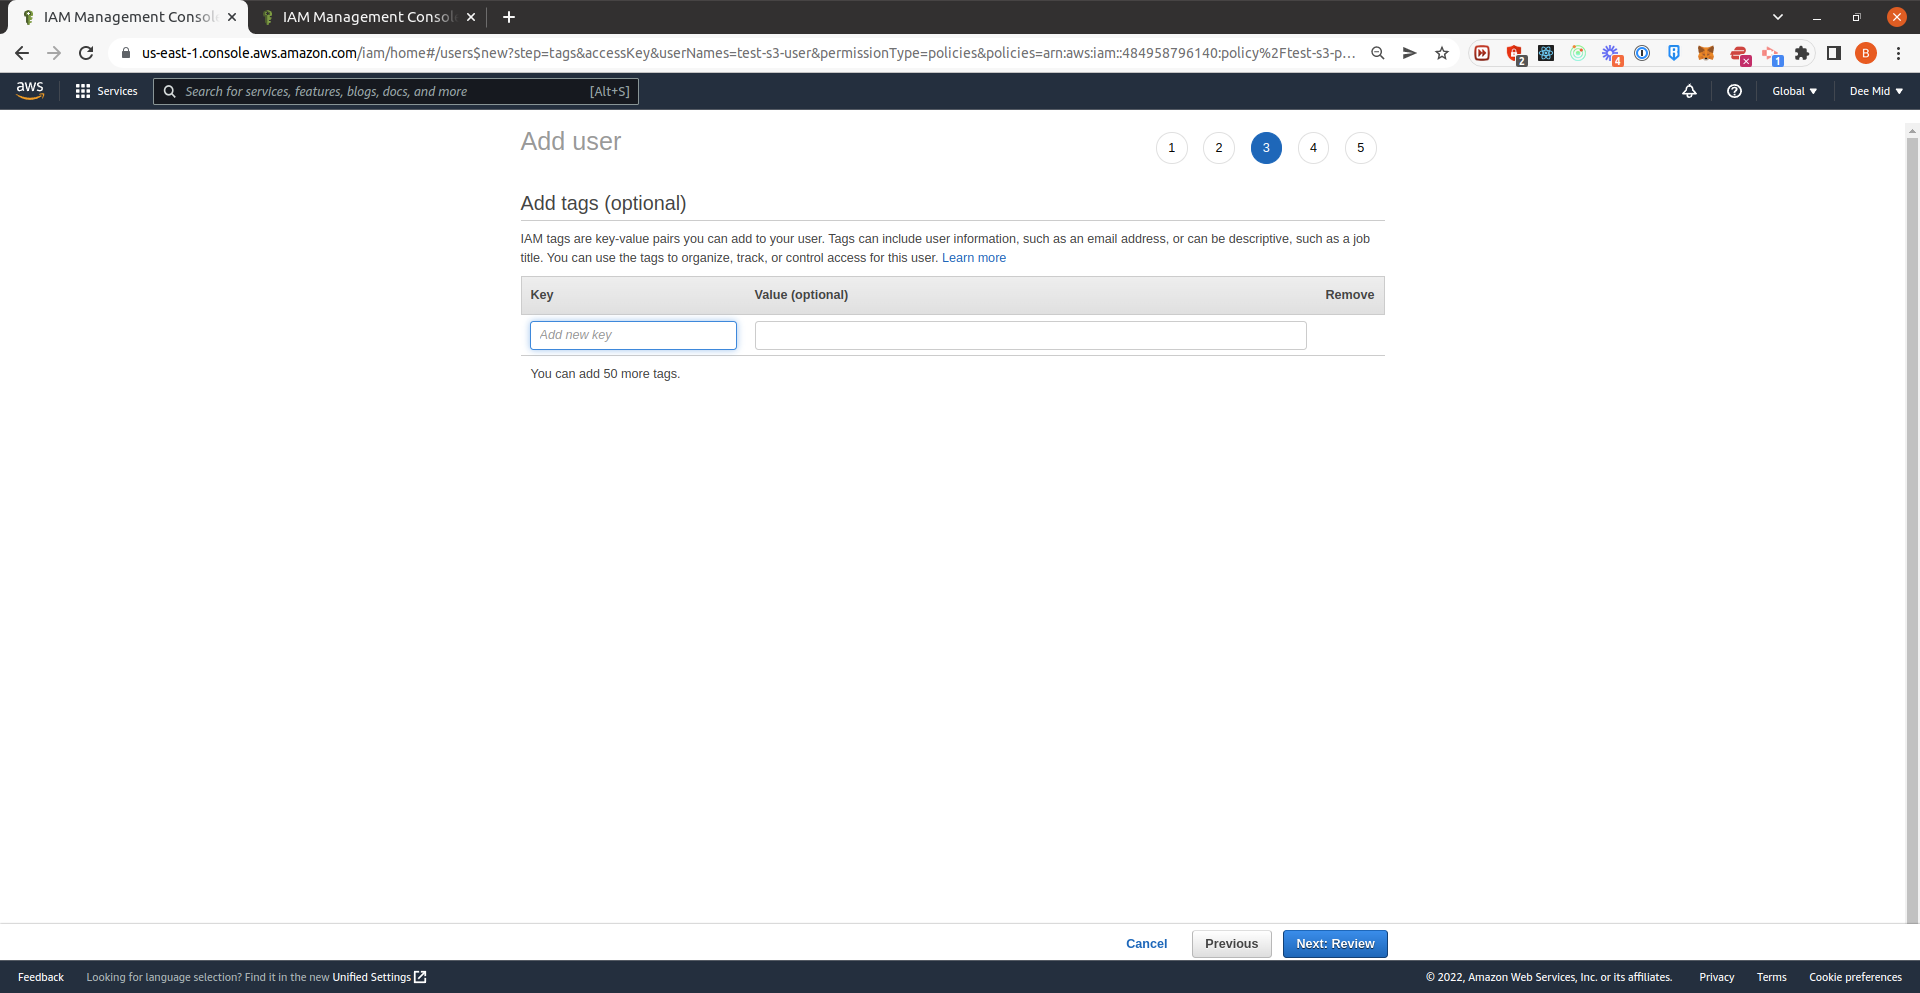
- Go back to the other tab, search for the newly created policy. Select it by checking the checkbox on the left-most column. Click Next: Tags on the bottom right.
- Click Next: Review on the bottom right.
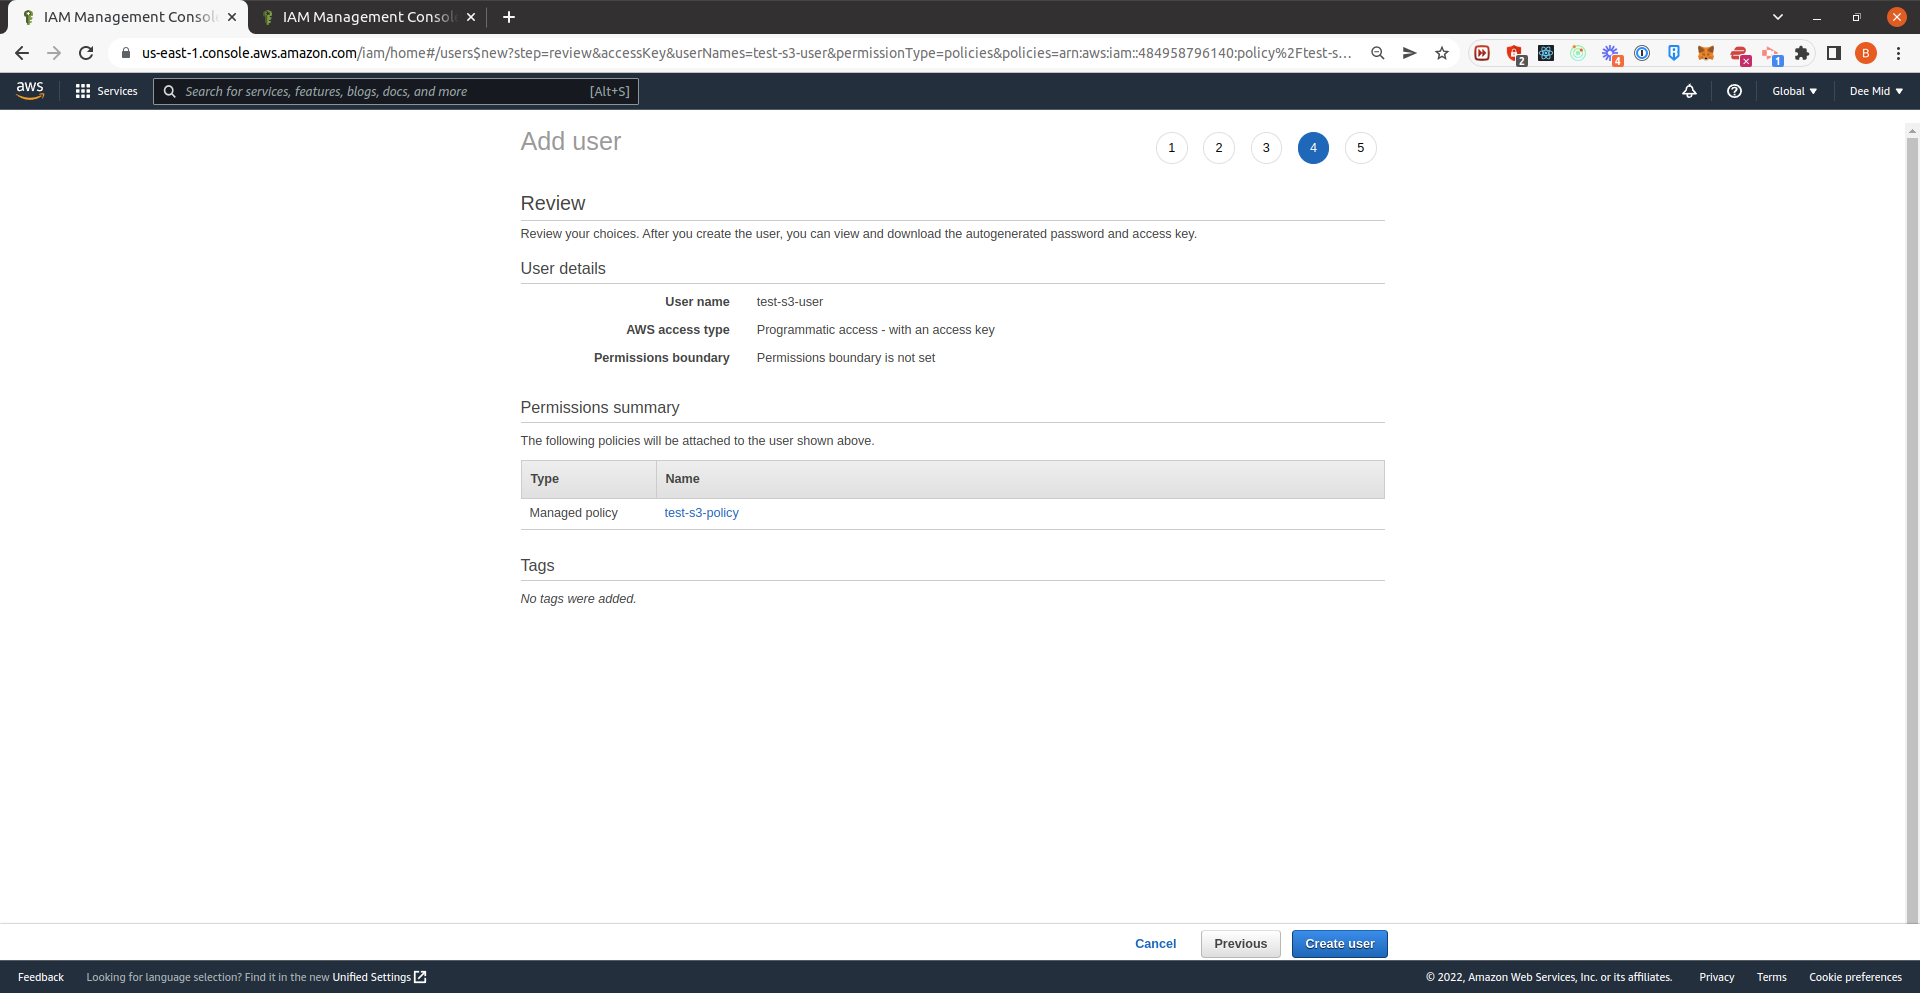
- Review your choices and click Create user
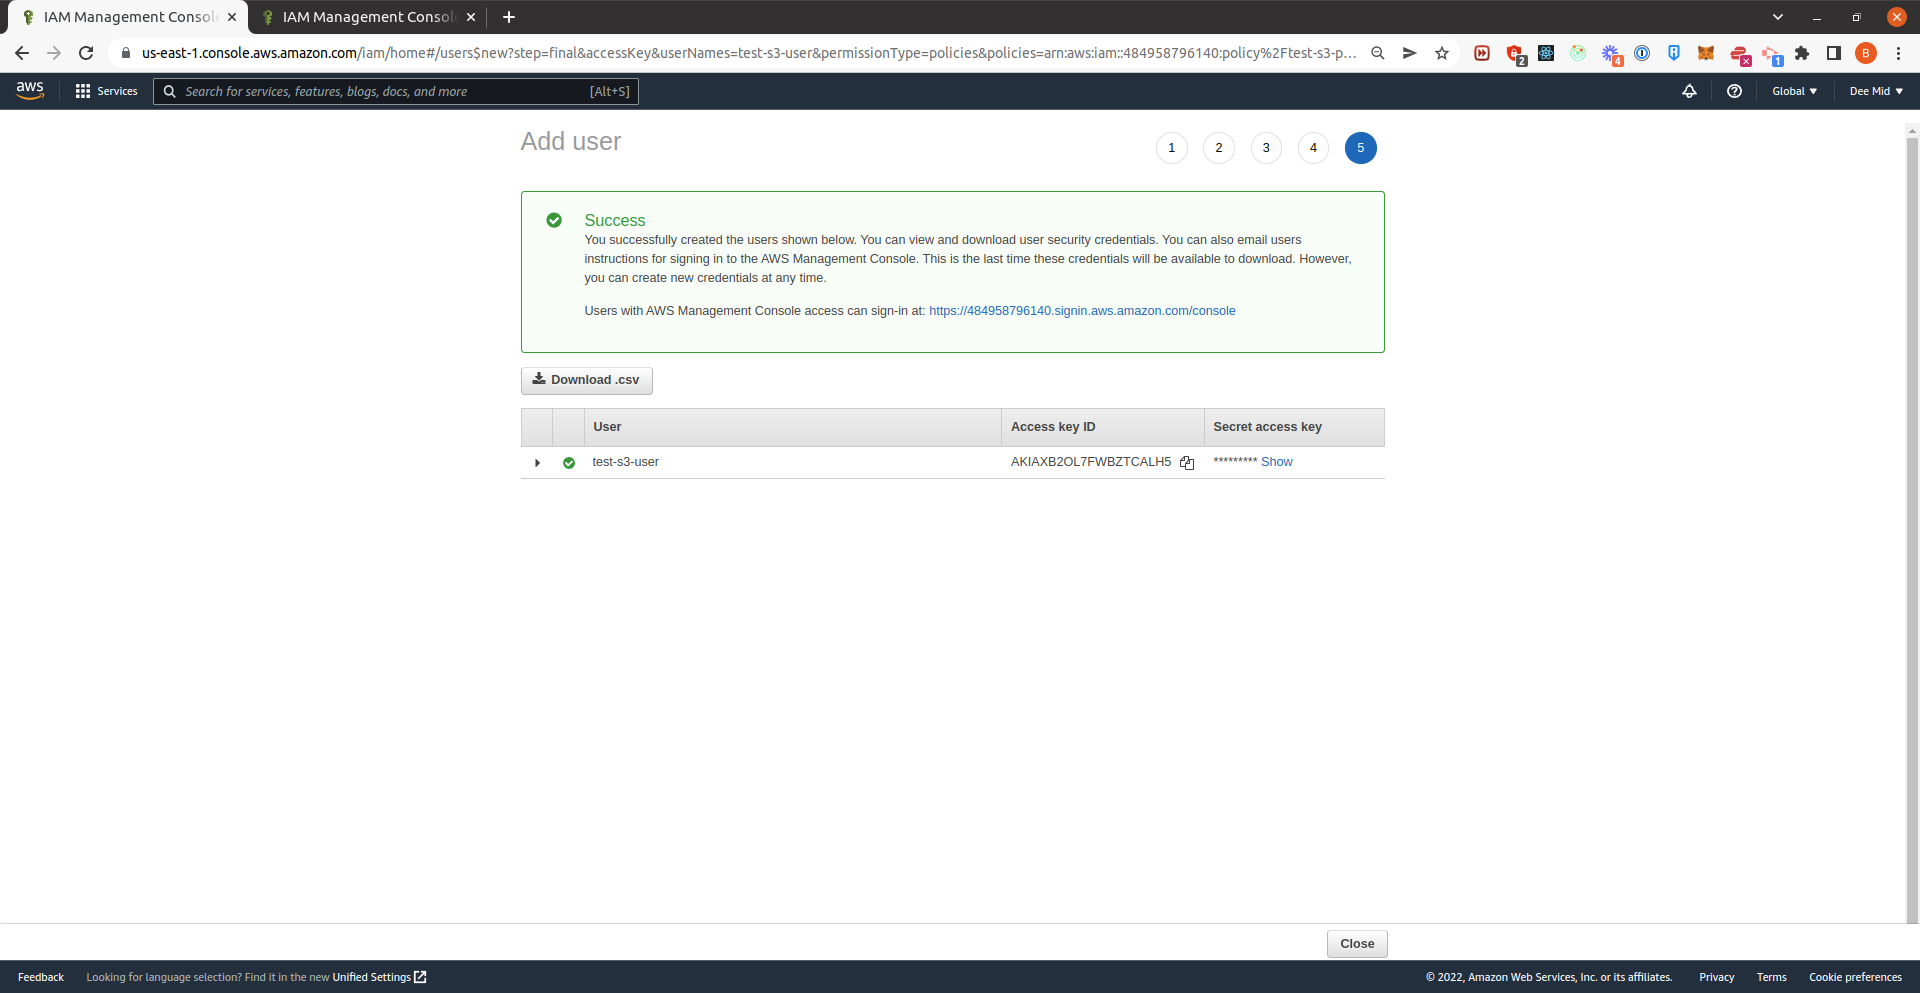
- Copy the Access Key ID and Secret access key and save them somewhere safe. You can also just download the credentials by clicking the Download .csv button.
Create AWS S3 Bucket
- Go to S3 (just search for S3 on the AWS Console searchbar). Click Create Bucket.
- Enter a Bucket Name and select AWS Region.
- Scroll down and uncheck Block all public access. An alert box will show just below with a checkbox to acknowledge that the bucket or the objects inside might become public. Check it.
- Scroll down to the very bottom and click Create Bucket.
- You will be redirected to the S3 bucket list. Select your newly created bucket by clicking the bucket name.
- Go to the Permissions tab, scroll down to Bucket Policy. Click Edit. Copy the Bucket ARN.
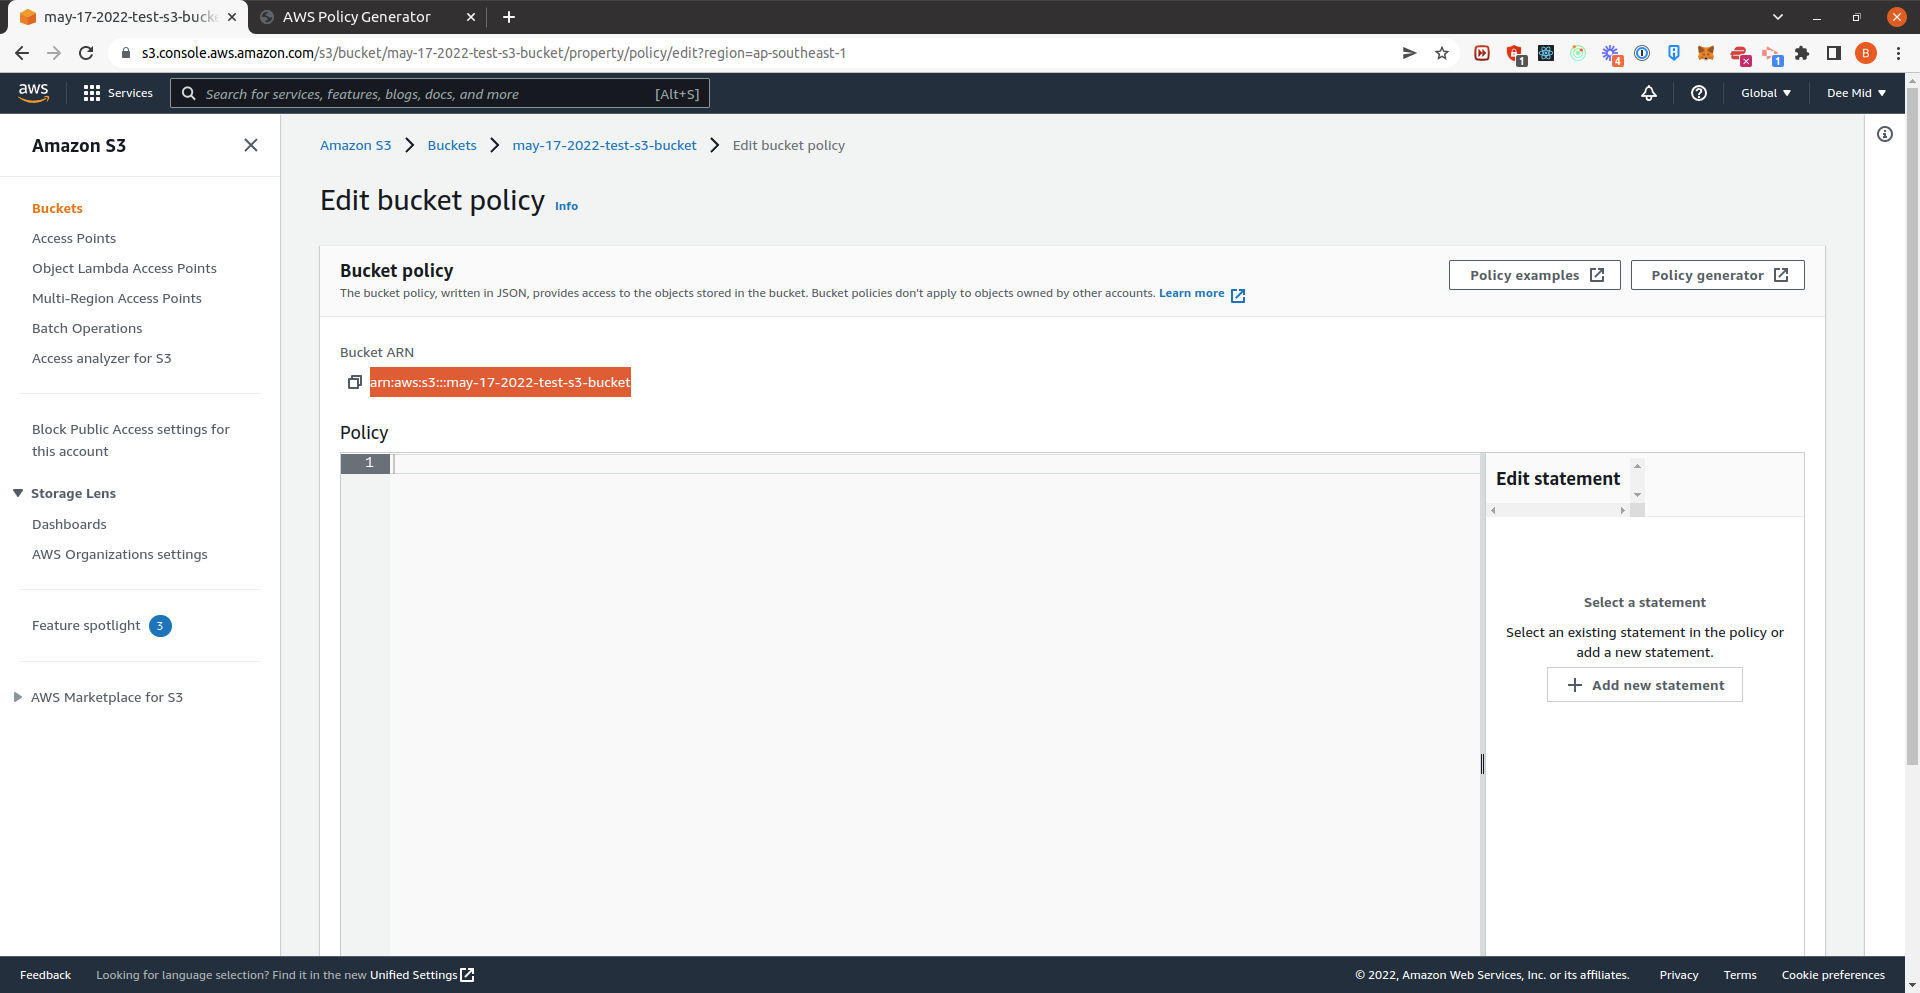
- Visit AWS Policy Generator
- For the Policy Type, select S3 Bucket Policy.
- Check Allow for Effect.
- Enter * for Principal.
- For Actions, check All Actions ('*\')
- for the Amazon Resource Name (ARN), paste the Bucket ARN we copied earlier. Add "/*" to the end of the Bucket ARN to target every object inside the bucket. It should look like this: arn:aws:s3:::may-17-2022-test-s3-bucket/*
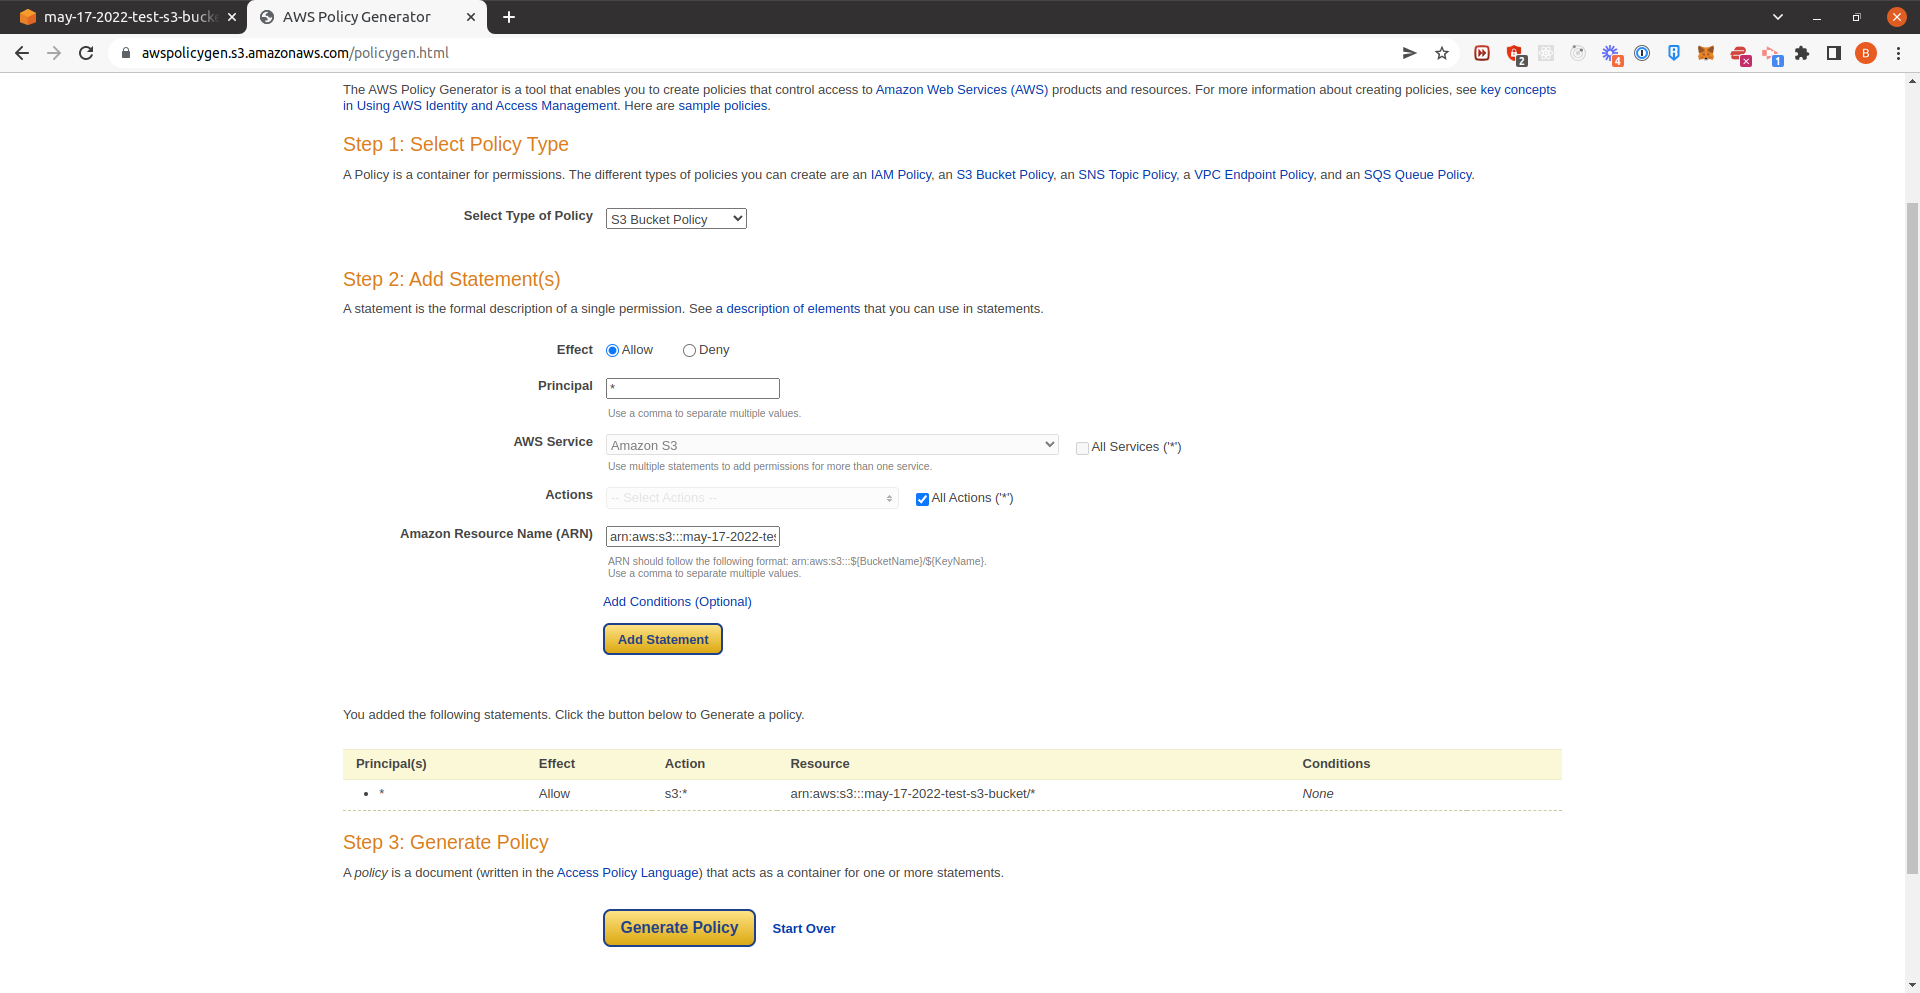
- Click Generate Policy, copy the Policy JSON Document.
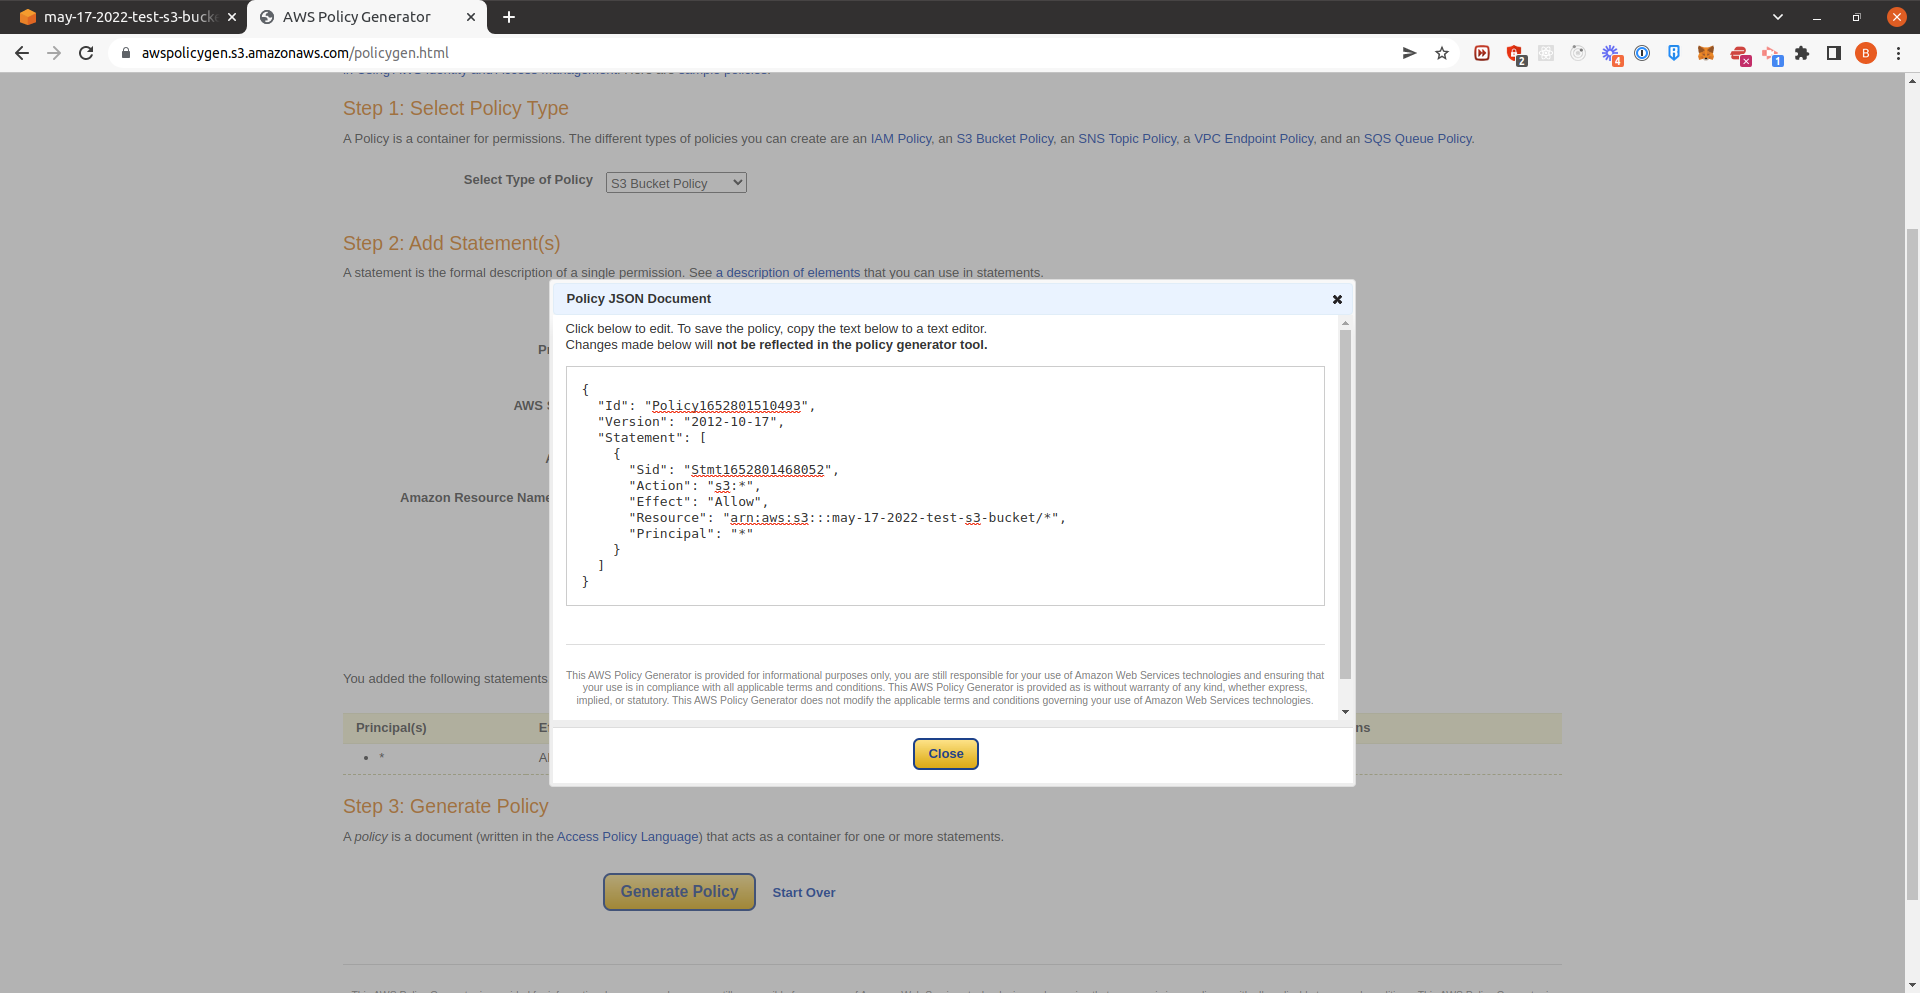
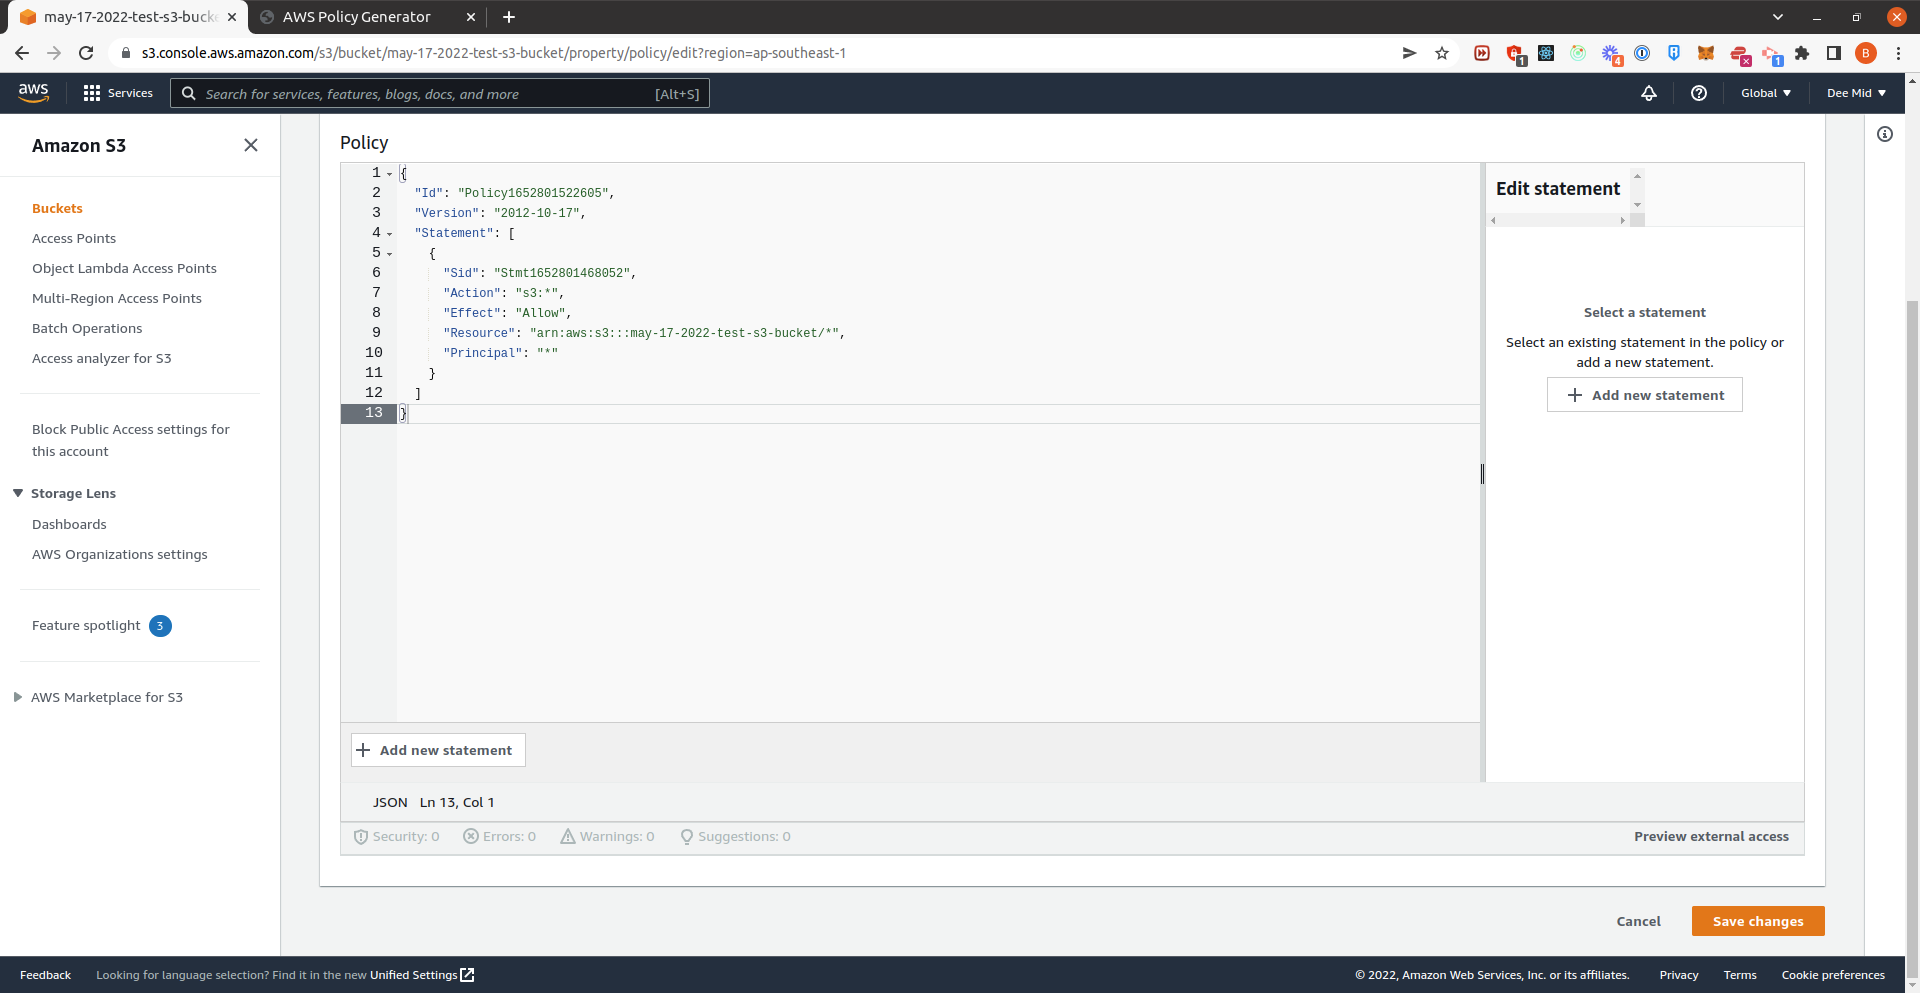
- Go back to the bucket policy edit page. Delete everything and paste the Policy JSON Document we just copied. Click Save Changes on the bottom right.
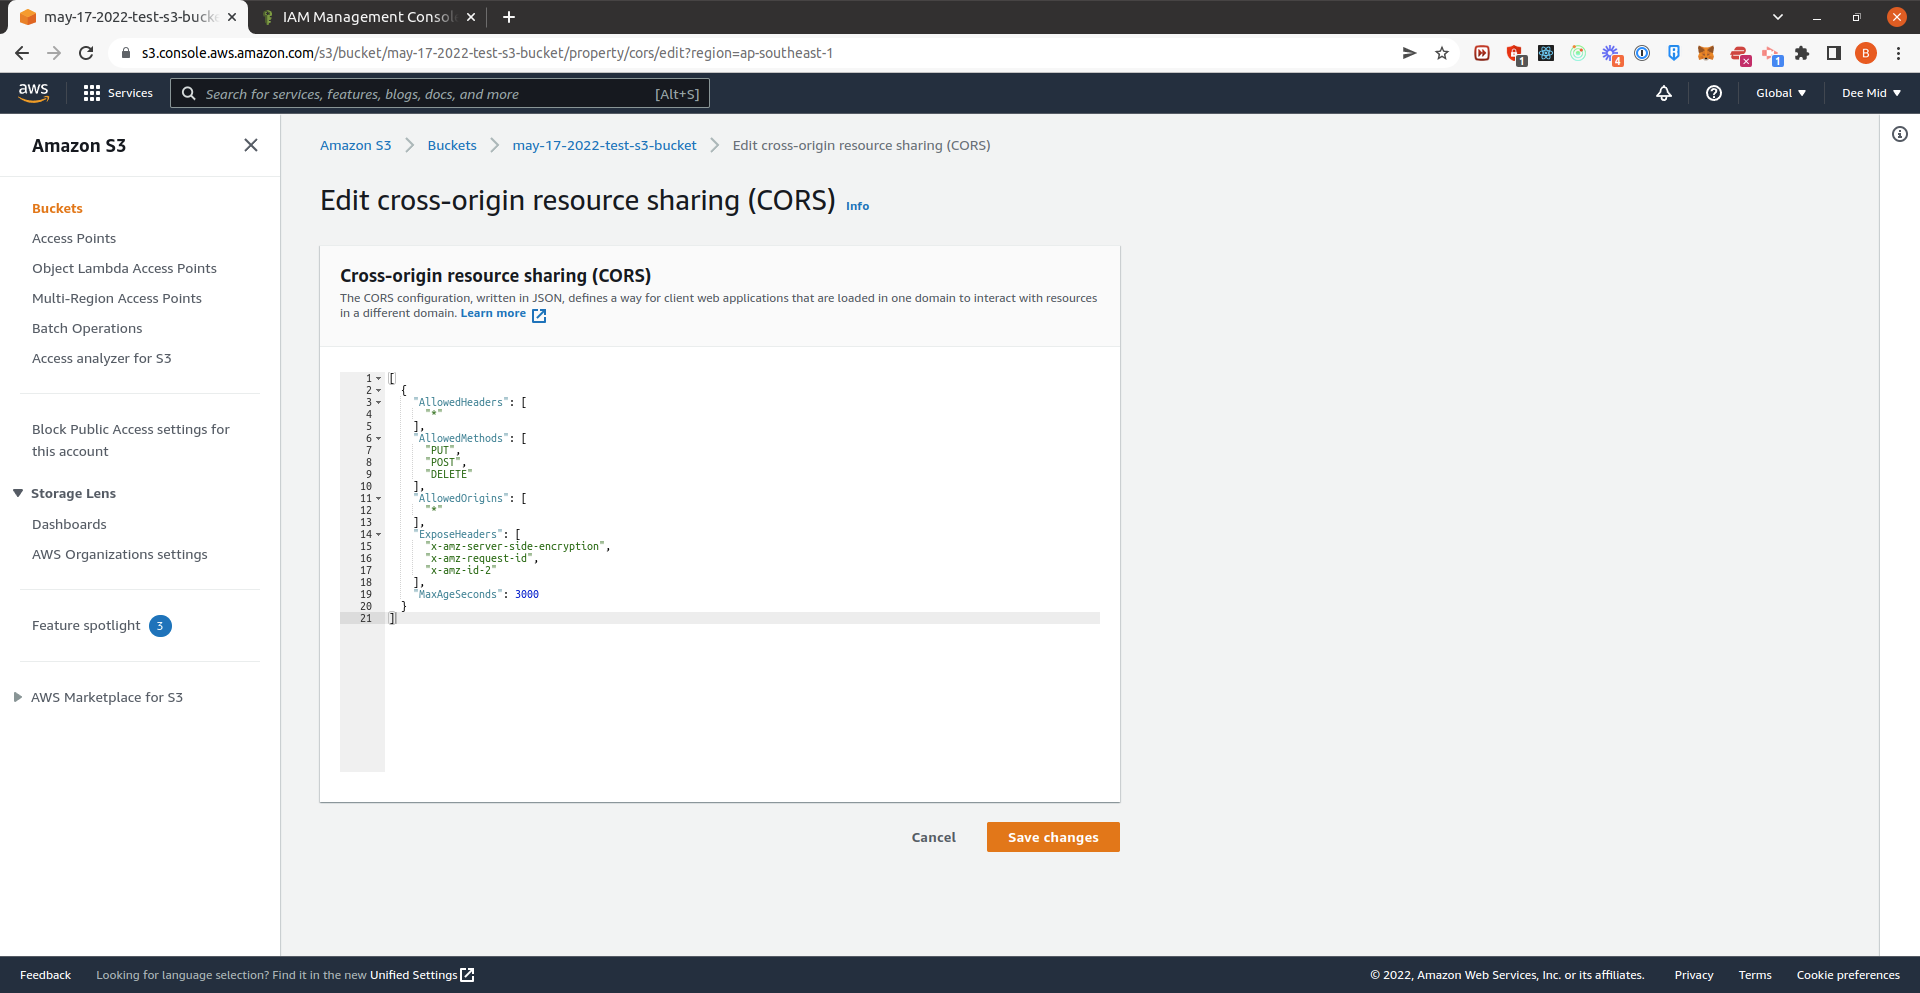
- Scroll down to Cross-origin Resource Sharing (CORS). Click Edit
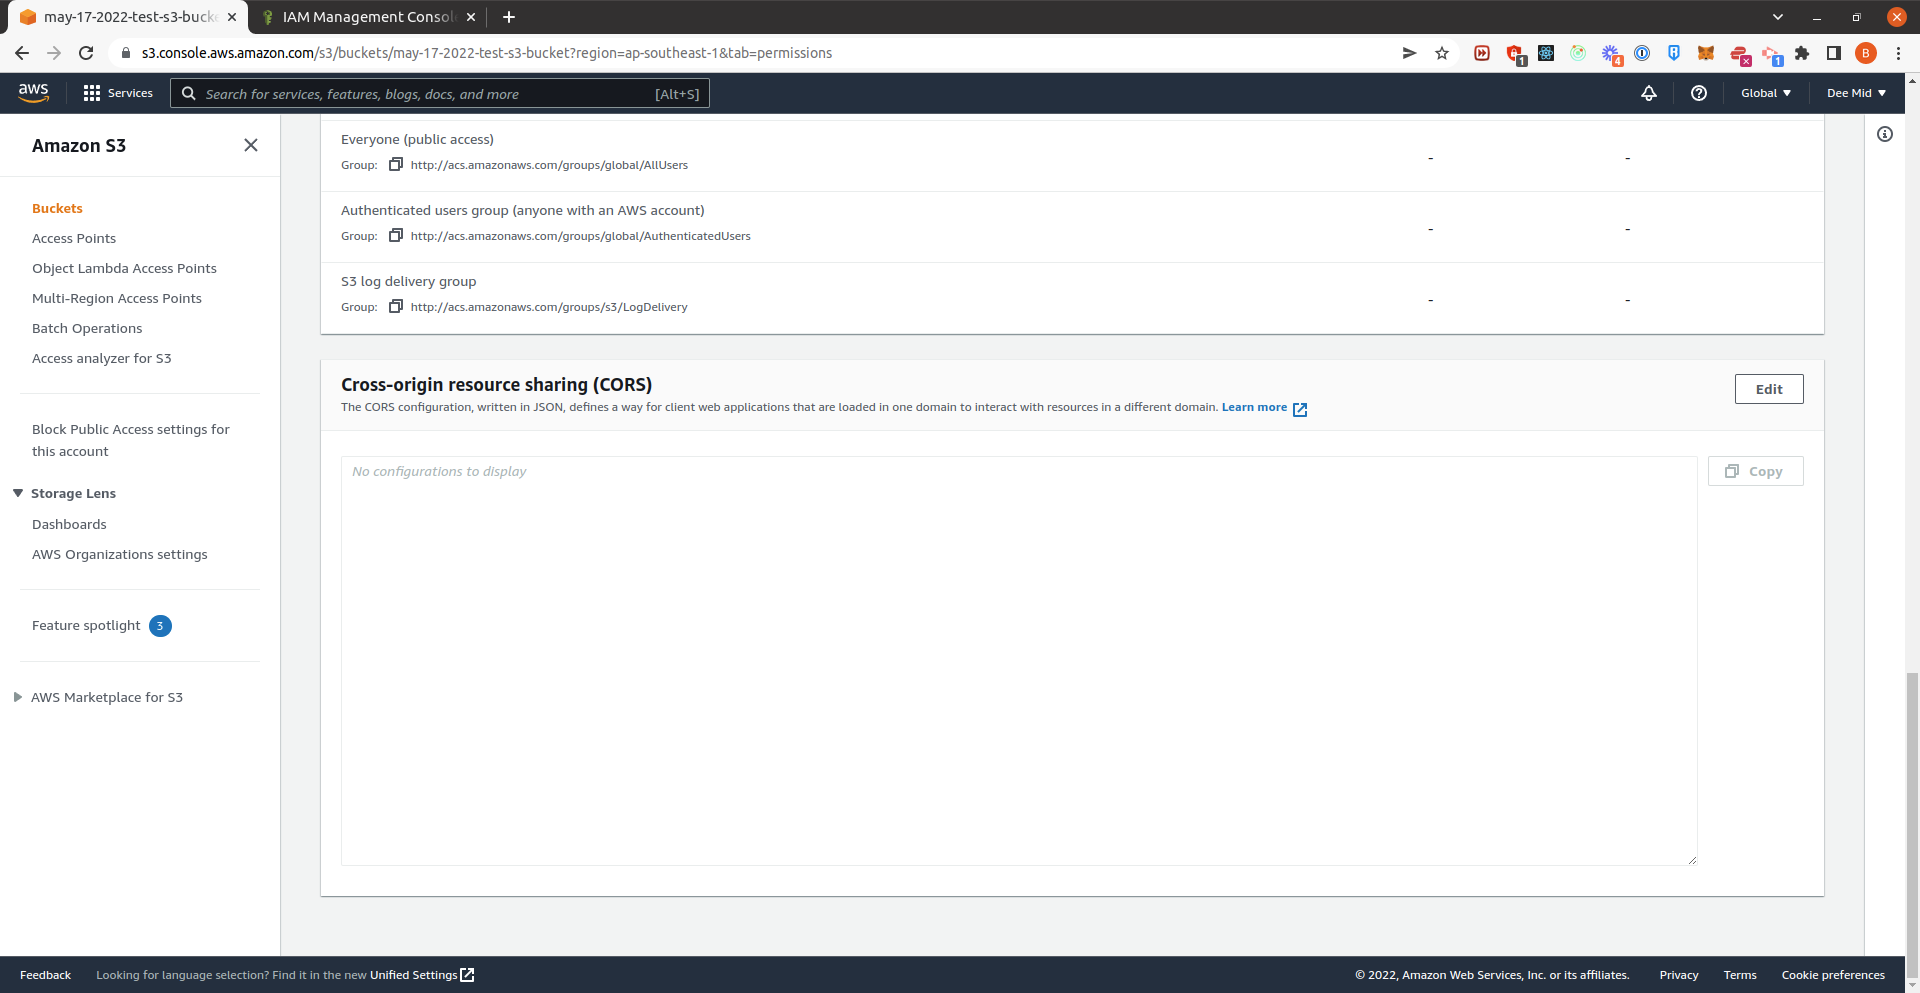
- Copy the following and paste it on the textbox.
[
    {
        "AllowedHeaders": [
            "*"
        ],
        "AllowedMethods": [
            "GET",
            "HEAD",
            "POST",
            "PUT"
        ],
        "AllowedOrigins": [
            "*"
        ],
        "ExposeHeaders": []
    }
]
- Our bucket is now ready!
Express App
Setup ENV Vars
We are now going to use the credentials we saved earlier. These are the environment variables we need:
# AWS S3
AWS_ACCESS_KEY=
AWS_SECRET_ACCESS_KEY=
AWS_BUCKET=aws-bucket-name
AWS_REGION=ap-southeast-1
Create Temporary Signature Route
We only need a route that will generate the temporary signature that we can use on the frontend. We'll use the npm module aws-sdk for this. We'll also put the actual uploaded file URL on the response object.
const express = require("express")
const aws = require("aws-sdk")
const router = express.Router()

const bucketName = process.env.AWS_BUCKET
const s3Data = {
  accessKeyId: process.env.AWS_ACCESS_KEY,
  secretAccessKey: process.env.AWS_SECRET_ACCESS_KEY,
  region: process.env.AWS_REGION,
  signatureVersion: "v4",
}

const s3 = new aws.S3(s3Data)

router.get("/s3-url", (req, res) => {
  const { fileName, fileType } = req.query

  const params = {
    Bucket: bucketName,
    Key: fileName,
    ContentType: fileType,
  }

  s3.getSignedUrl("putObject", params, (err, data) => {
    if (err) {
      console.log(err)
      return res.end()
    }

    const response = {
      signedRequest: data,
      url: `https://${bucketName}.s3.amazonaws.com/${fileName}`
    }
    res.send(response)
  })
})

module.exports = router
Note
The key prop on the params object will be the actual file path of the uploaded file. You can update the file name or put it inside a folder depending on your application requirements.
React App
On the frontend, we'll just send a request to the route we just created. Send a PUT request to the signedRequest with our file as the request body.
import { useState } from "react"
import axios from "axios"

function App() {
  const [isUploading, setIsUploading] = useState(false)
  const [file, setFile] = useState(null)  // the current file selected
  const [uploadedFileURL, setUploadedFileURL] = useState(null)  // url of the uploaded file

  const handleChange = (e) => {
    setFile(e.target.files[0])
  }

  const handleSubmit = async (e) => {
    e.preventDefault()

    if (!file) {
      return
    }

    try {
      setIsUploading(true)

      // Get S3 signed url
      const { data } = await axios.get("http://localhost:8000/s3-url", {
        params: {
          fileName: file.name,
          fileType: file.type,
        },
      })

      const { signedRequest, url } = data

      // Upload to S3
      await axios.put(signedRequest, file)

      setUploadedFileURL(url)
    } catch (err) {
      console.log(err)
    } finally {
      setIsUploading(false)
    }
  }

  return (
    <div className="App">
      <form onSubmit={handleSubmit}>
        <input type="file" onChange={handleChange} />
        <button type="submit">Upload</button>
      </form>
      <p>Uploading: {isUploading.toString()}</p>
      {uploadedFileURL && <img src={uploadedFileURL} />}
    </div>
  )
}

export default App
If the PUT request is successful, it means the file is now uploaded and can be accessed using the url prop that is returned together with the signedRequest.
Summary
Here's a short summary of everything we did:
- [AWS] Create an AWS User and a attach a policy that grants all access to S3.
- [AWS] Create an S3 bucket (make it public so files are accessible in the browser).
- [BACKEND] Create a route that will generate the signedRequest.
- [FRONTEND] Send a PUT request to that signedRequest with the selected file as the request body.
You can check these repos for reference: